

Installing and Managing Skills
Installing from the Skill Marketplace
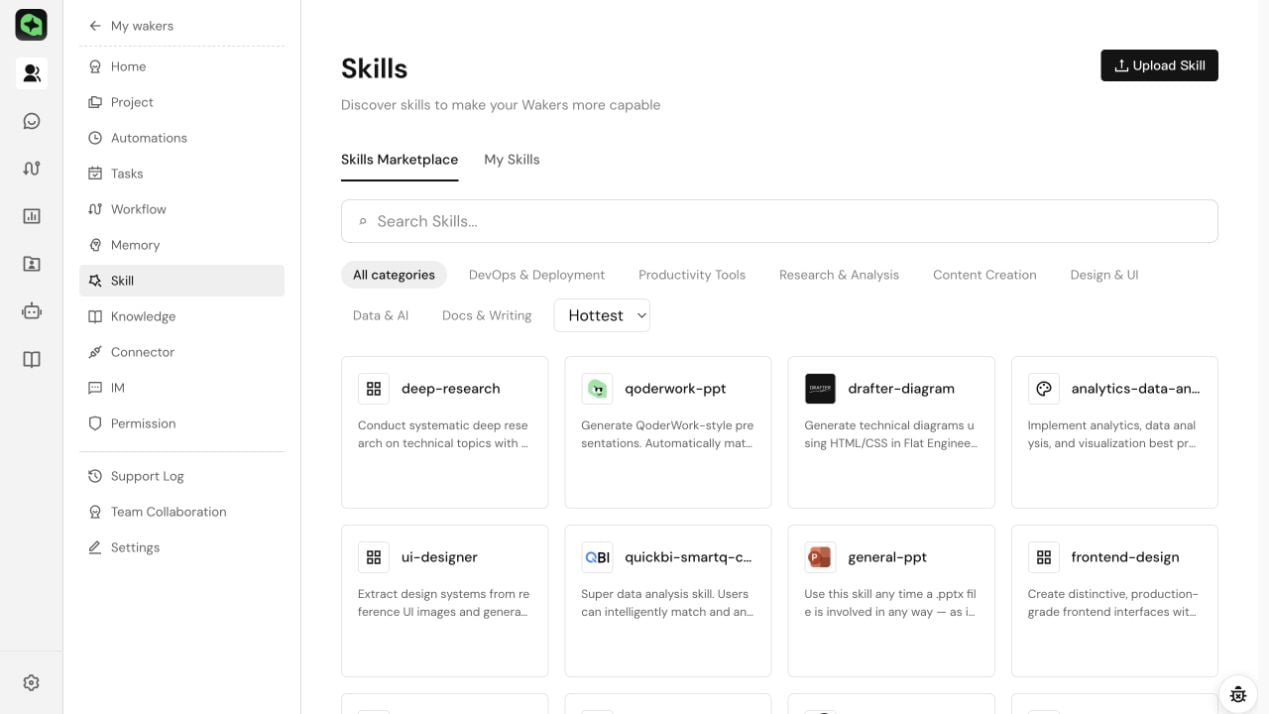
- Go to the target Waker → “Skills” → “Skill Marketplace.”
- Search for and open the target Skill; after confirming its purpose and source, click “Install.”
- Go to “My Skills” to confirm the status is “Installed.”
Uploading Custom Skills
- On the “Skills” page, click “Upload Skill” and select a
.mdfile or a supported archive. - The
.mdfile must containnameanddescription; archives must containSKILL.md. - After uploading, go to “My Skills” to confirm the result.
Post-Change Verification
To roll back or uninstall, go to “My Skills” → target Skill → “More Actions.” Before making changes, check whether any automated tasks or WakerFlows depend on the Skill. After changes, start a new conversation and verify with a minimal task. Completion criteria: The current version or installation state matches expectations; capability changes are effective in new conversations; workflows that depend on the Skill do not produce missing-capability errors. If installation or upload fails, check the network, file structure, and same-name versions, then retry.Adding Connectors and MCP Services
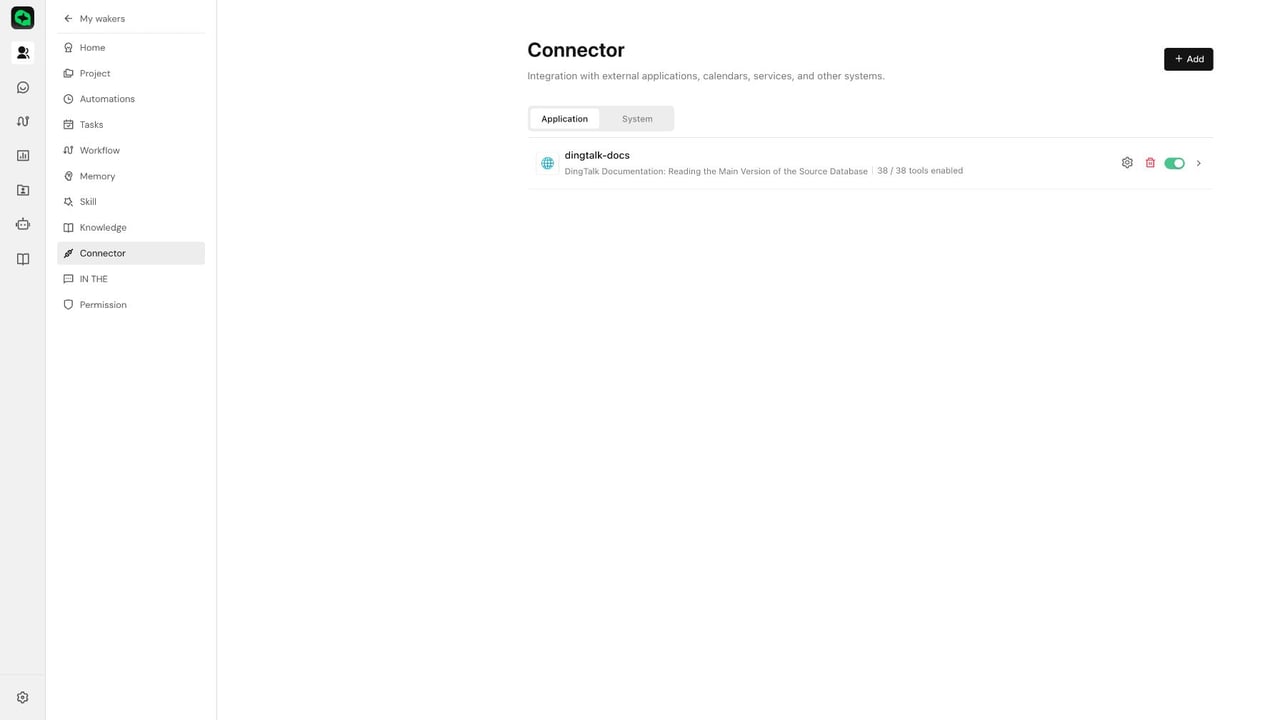
Connectors manage external applications and MCP services. Go to Waker details → “Connectors,” then choose an addition method based on the configuration source:| Current Situation | Selection |
|---|---|
| Using a built-in product service, e.g. DingTalk DWS | ”System” |
| Using an application integration provided on the page | ”Applications” |
| Adding a single custom MCP service | ”Manual Configuration” |
Already have a complete mcpServers configuration | ”Paste JSON Configuration” |
 |
Adding a Custom MCP
- In “Applications,” click “Add.”
- When you only have information for a single service, select “Manual Configuration” — fill in the name, startup command or server address, and optionally set environment variables, Headers, and timeout.
- When you have a complete configuration, select “Paste JSON Configuration” — paste the complete JSON containing
mcpServers, confirm the page correctly identifies the service, then click “Import.” - Before saving, confirm the command or URL is reachable, expose only necessary directories, and store credentials in protected environment variables.
Authorize and Verify
After adding or importing, follow these steps in order:- When the status shows “Authorization Required,” complete authorization.
- Click “Detect” or “Re-detect” and wait for the status to become “Connected.”
- Refresh the tools and enable only the tools the current Waker needs.
- Start a new conversation and verify with a minimal task.
Enabling and Verifying DingTalk DWS MCP
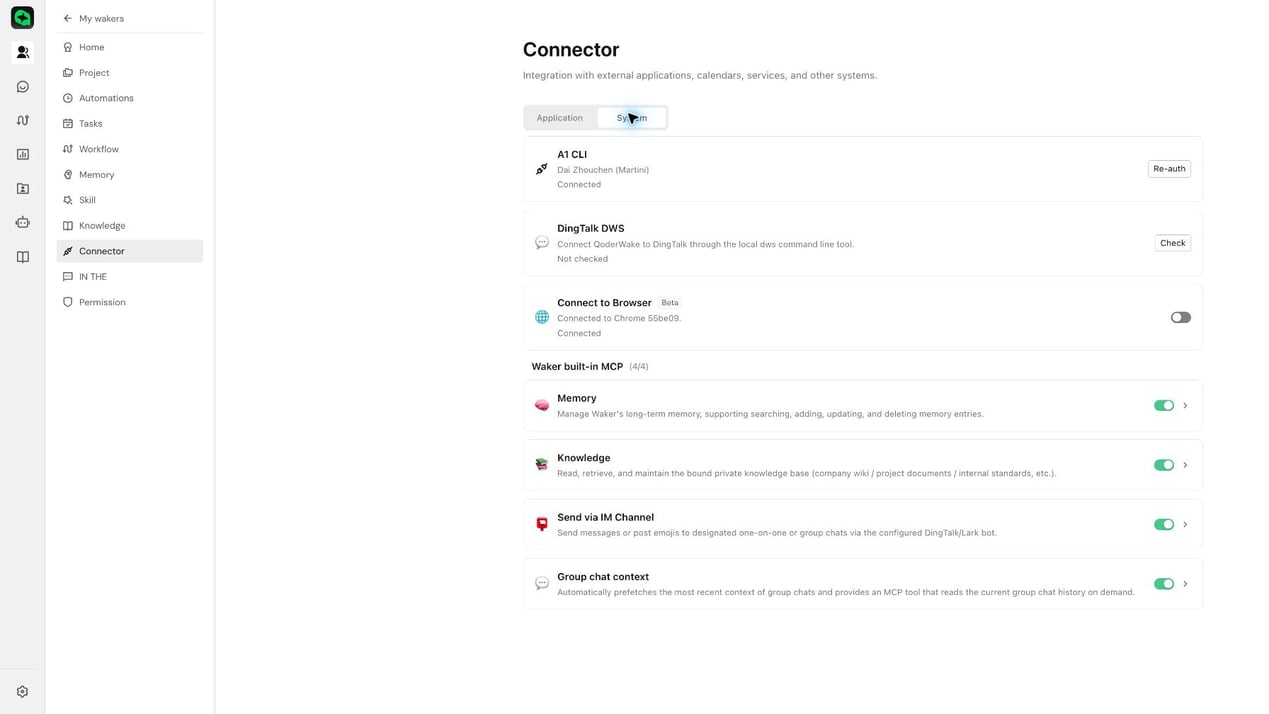
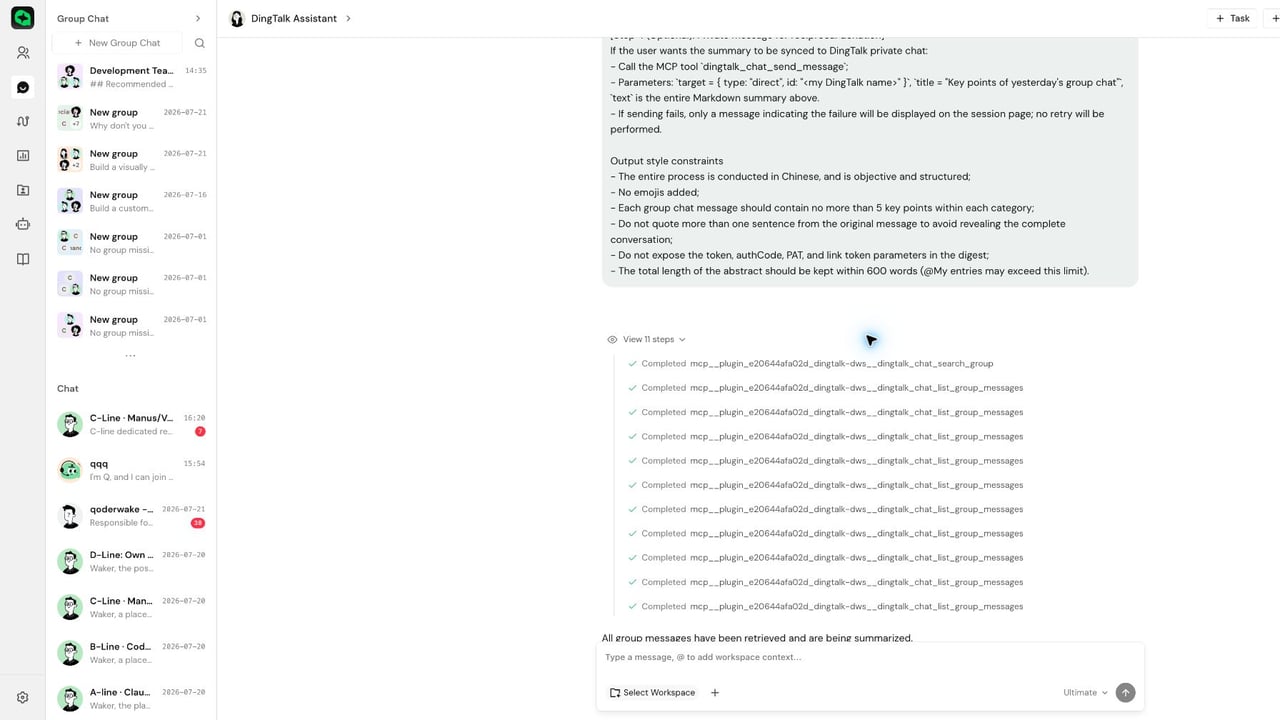
DingTalk DWS MCP is a “System” connector that can read, summarize, and send DingTalk group messages within its authorized scope.- Go to the target Waker → “Connectors” → “System” and find “DingTalk DWS.”
- Follow the page prompts to install, update, or authorize the DWS CLI.
- Refresh the page and confirm the connector status is “Connected.”

Configuring IM Channels and Session Pairing
The main navigation “IM” is used to manage channels and sessions centrally; the “IM” in Waker details shows conversations currently handled by that Waker.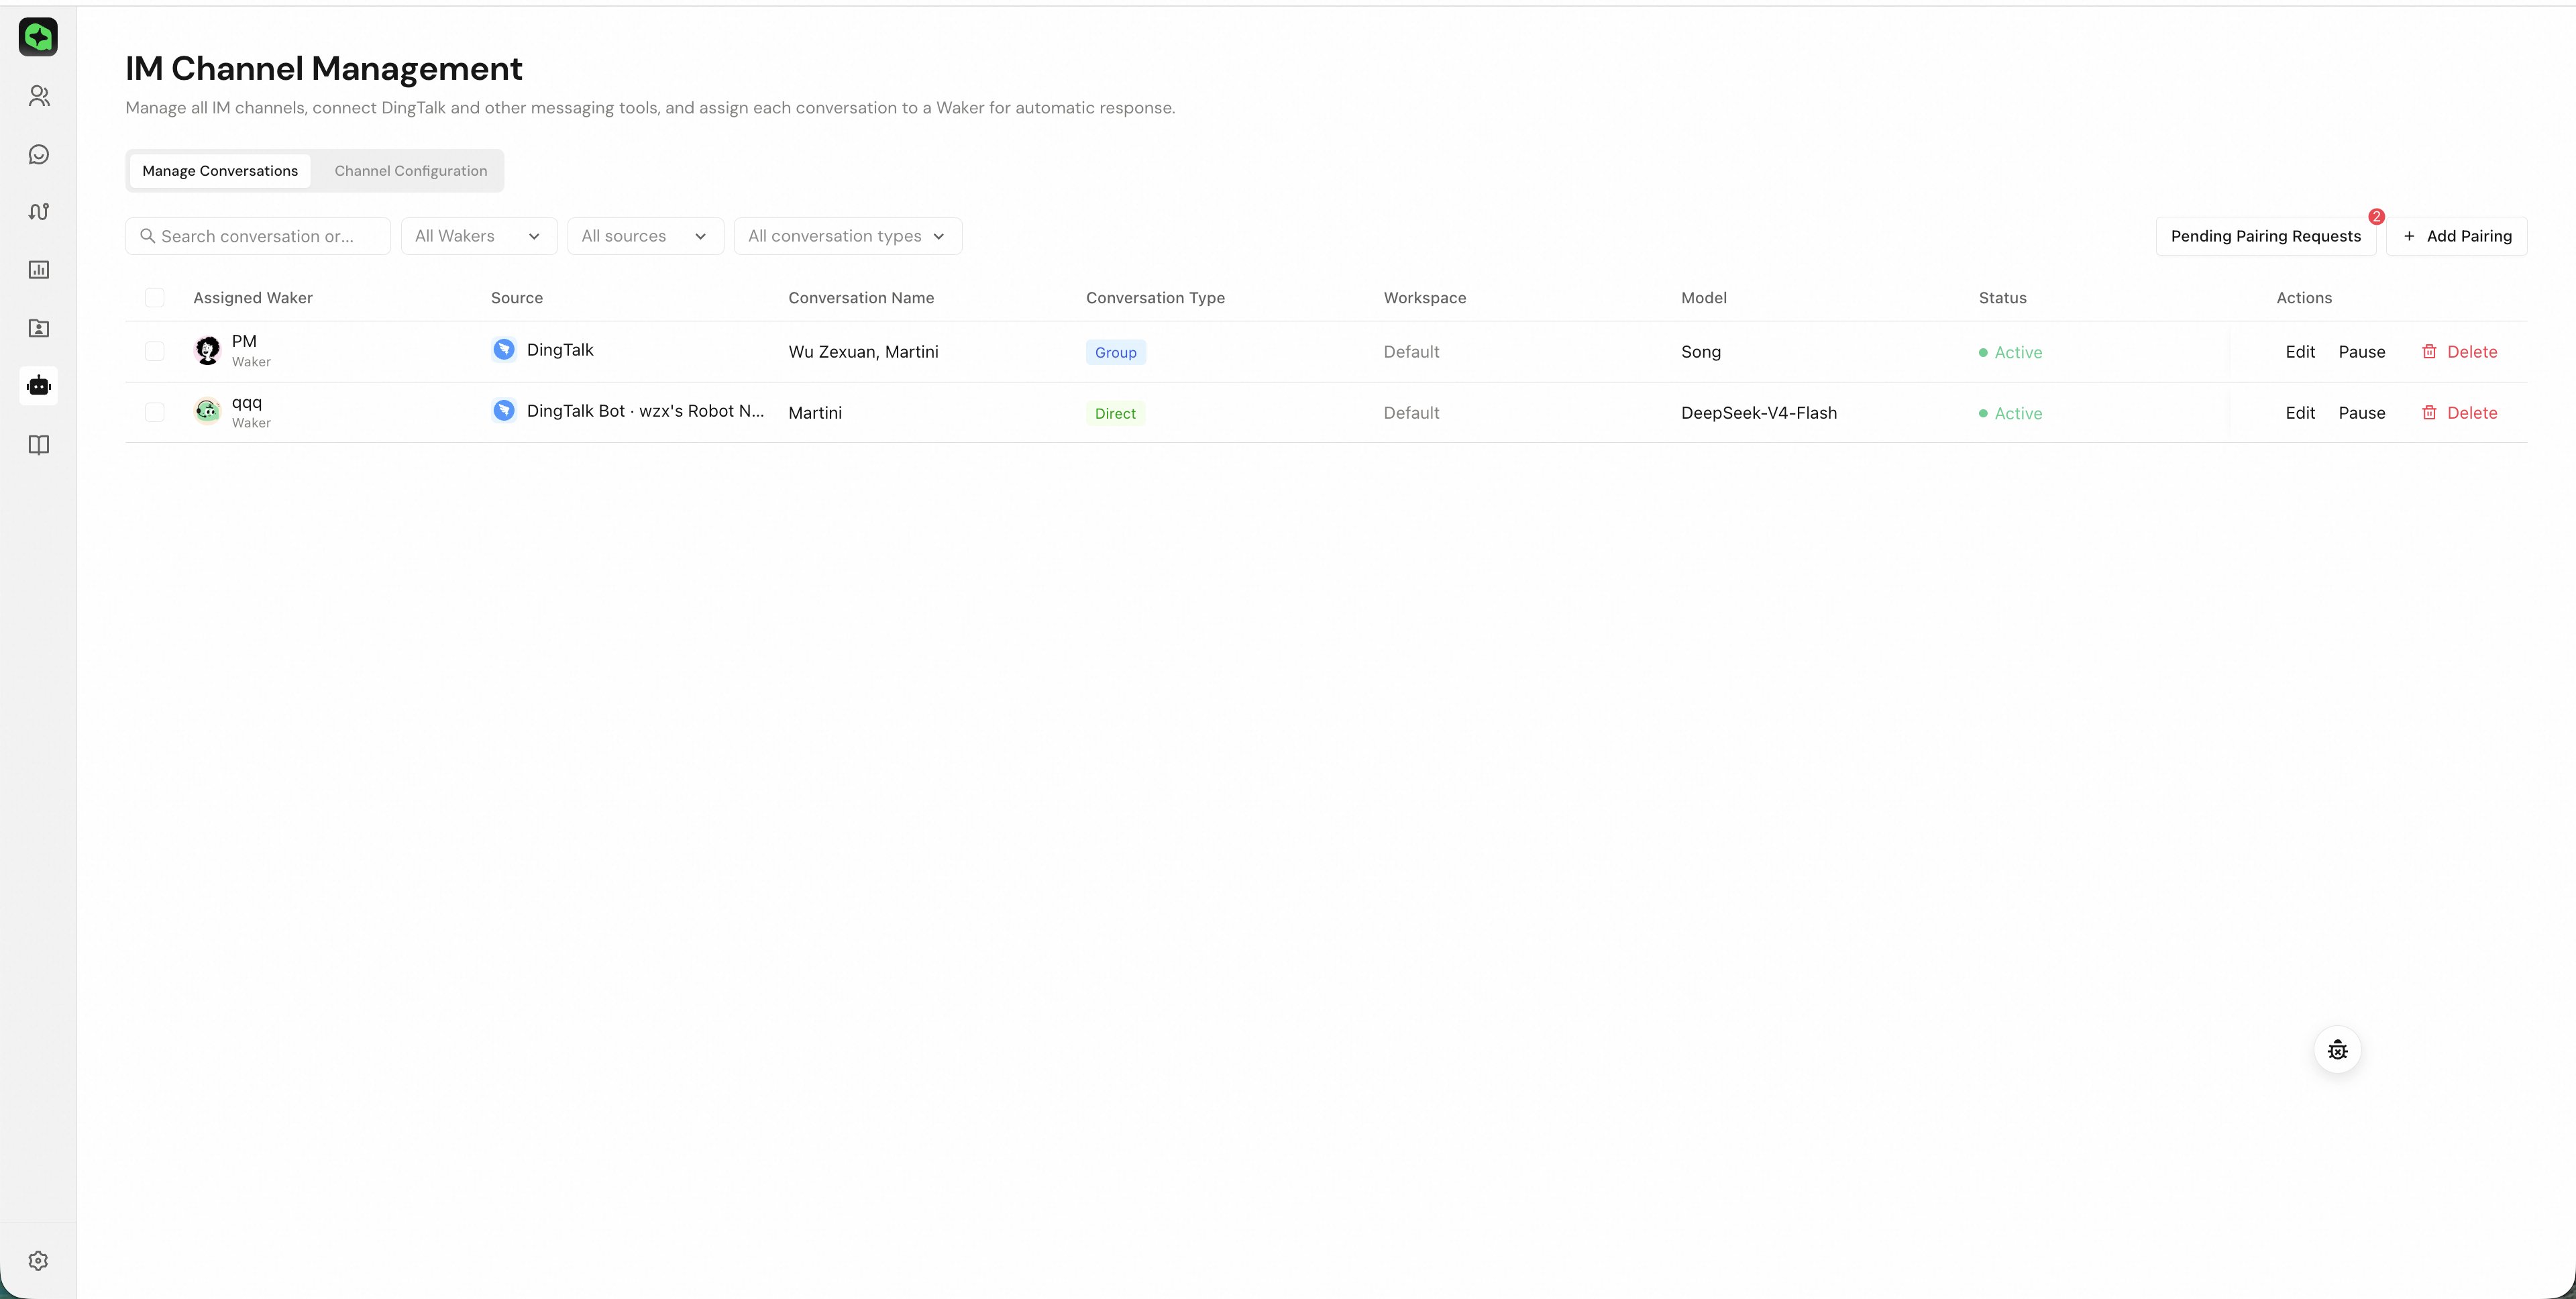
Adding a Channel
- Go to “IM” → “Channel Configuration” → “Add Channel.”
- Select the channel and complete authorization or fill in credentials via the wizard.
- Set the pairing mode, responding Waker, model, and working directory; use pairing mode preferentially in production environments.
- Save and confirm the status is “Connected.”
Processing Pairing Requests
- Go to “IM” → “Session Management” → “Pending Pairing Requests.”
- Verify the session name, initiator, channel, and type.
- Select the responding Waker, model, and working directory, then click “Allow”; for untrusted requests, select “Ignore.”
- Confirm the status is “Active” in “Paired Sessions.”
Qmate pairing note (applies to Qmate template only): Qmate processes messages by default through a preset Q&A WakerFlow — the pairing page does not require selecting a workflow. Node models are configured in the WakerFlow; for direct messages, prioritize filling in the Open ID. After creating a pairing, confirm the channel is enabled and check Q&A records and execution records in the test group.
Verifying the Message Pipeline
- Confirm the channel is connected and the target Waker is running.
- Send a test message from a paired session.
- Check the Waker, model, and working directory used for the reply; verify non-sensitive attachments as needed.
Pre-Launch Integration Checklist
- Enable Skills, connectors, and IM channels with minimum privileges — verify read-only capabilities first, then open write or message-sending capabilities.
- Store Tokens, Cookies, AppSecrets, and Personal Access Tokens in protected credentials or environment variables — never write them into body text, logs, or screenshots.
- Before deleting or modifying an integration, check dependencies first; after changes, perform a minimal verification in a new conversation.