

3.1 Waker management list
Entry point: Left navigation sidebar → “Waker Management”. The page displays Waker cards showing name, description, runtime environment, online status, and task entry points.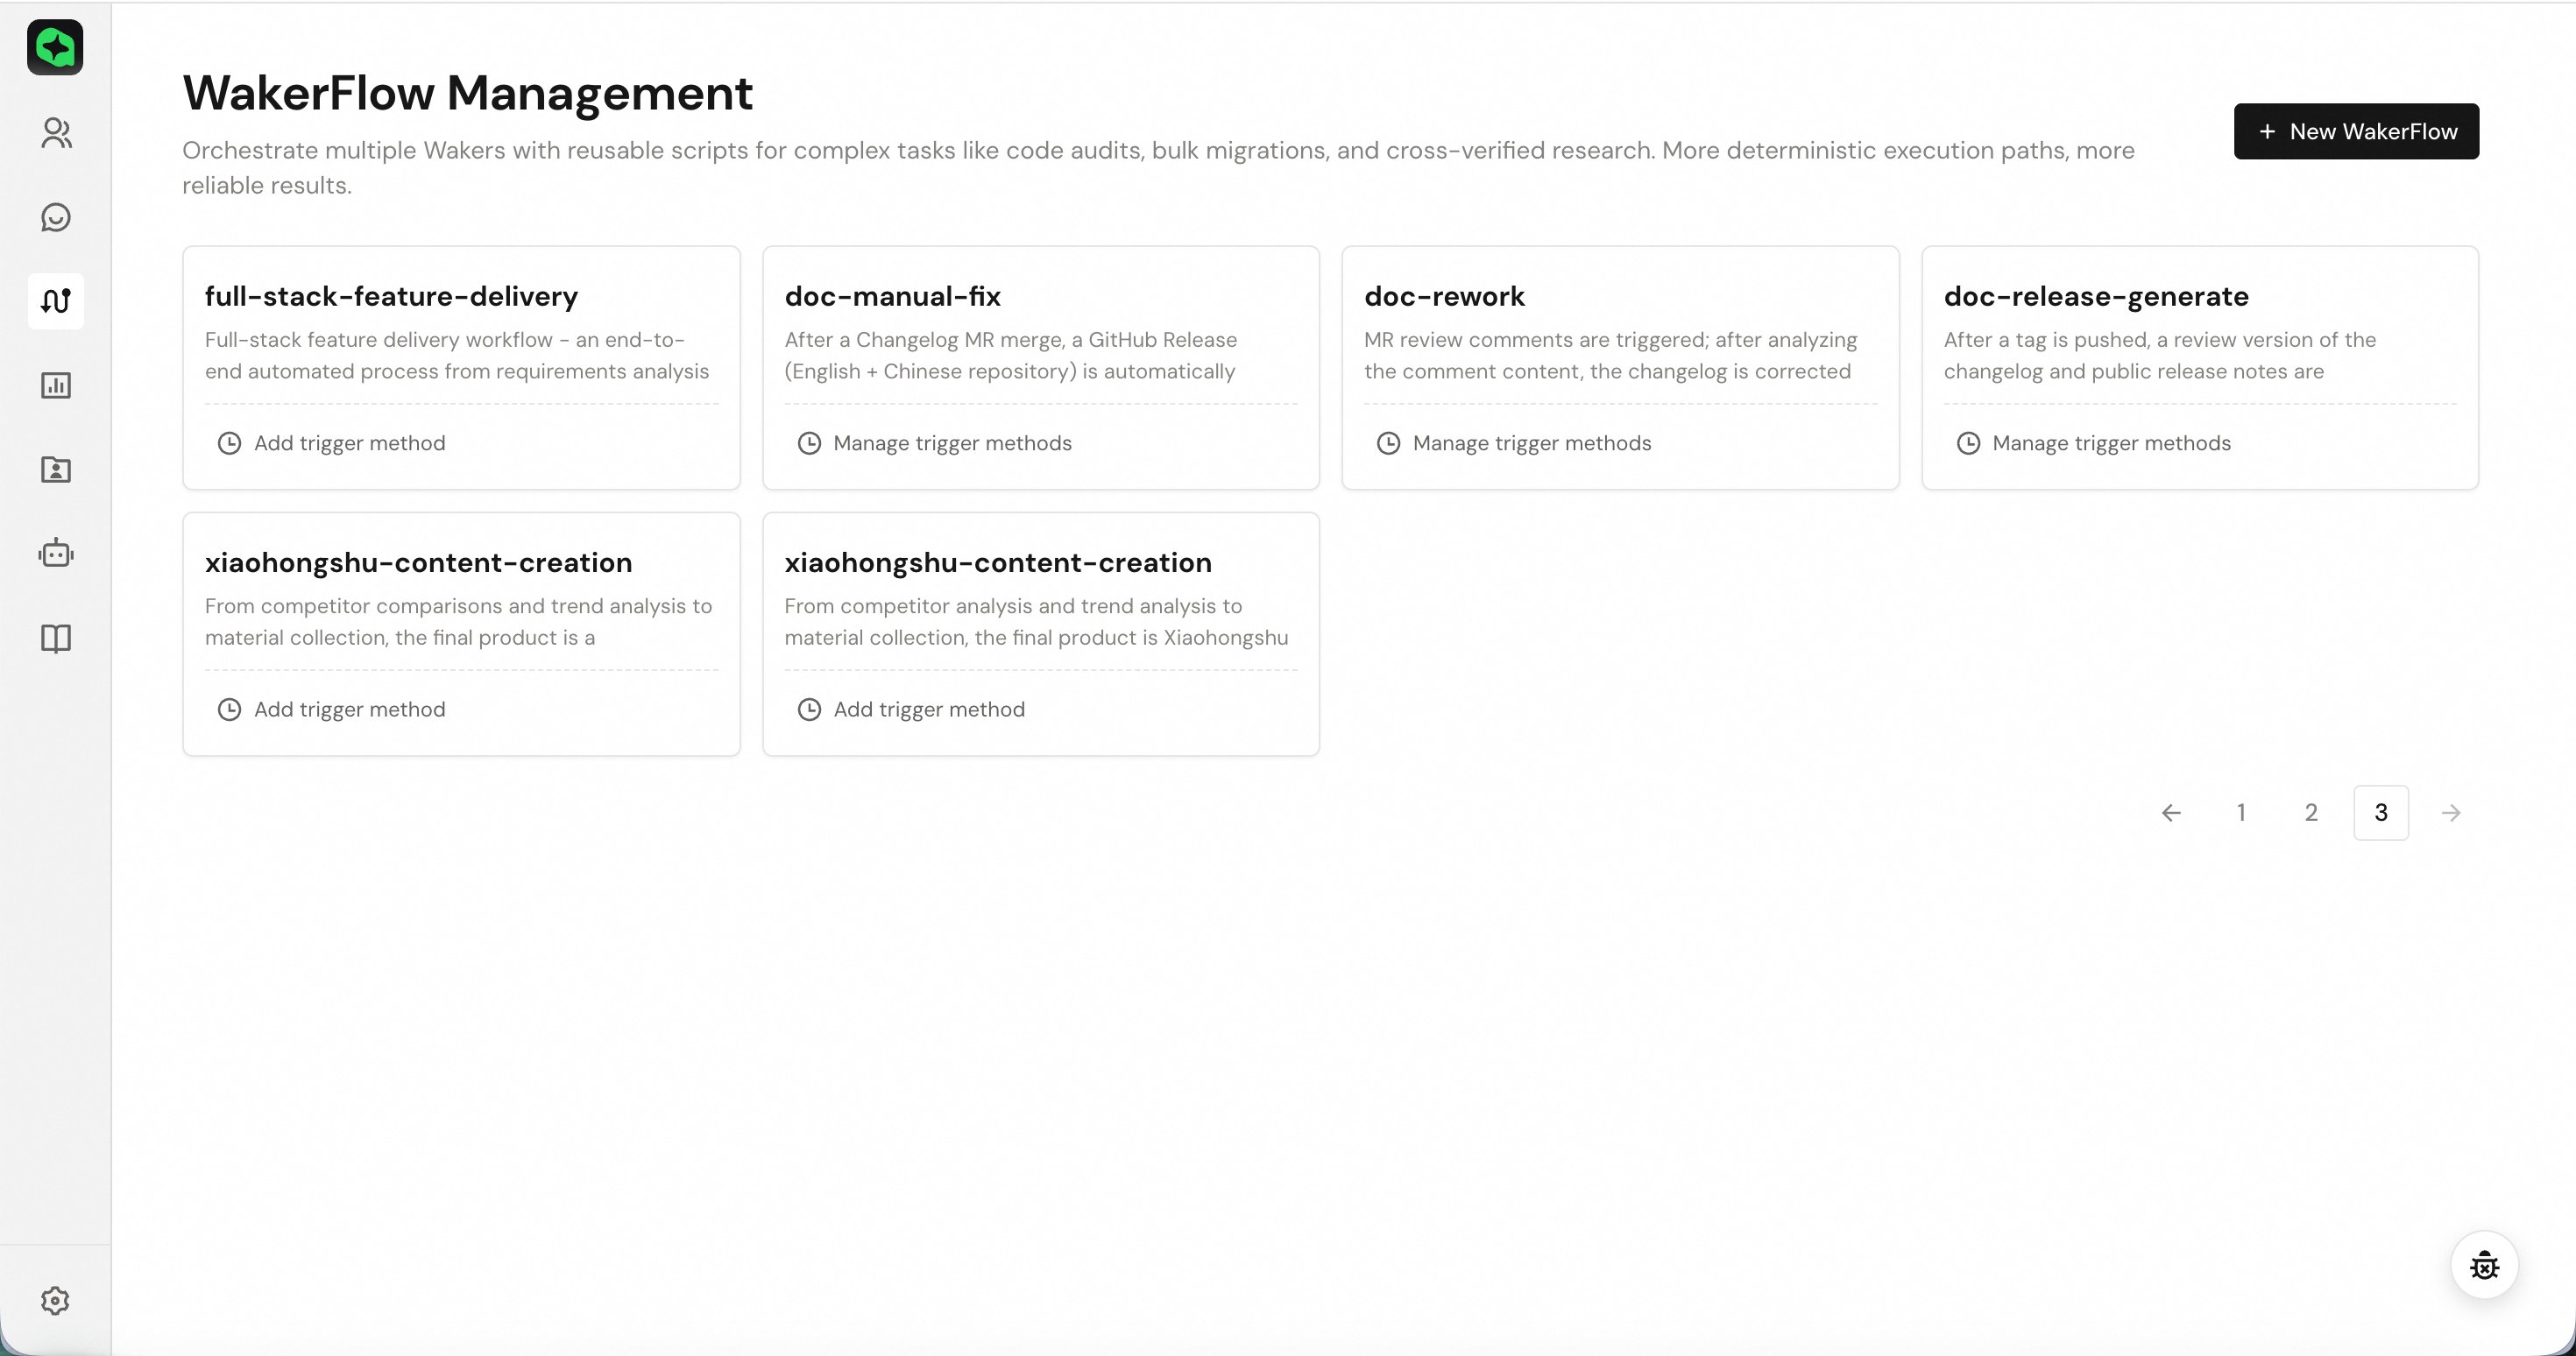
3.2 Creating a Waker
When creating a Waker, select a role template and fill in basic information. Projects, skills, and connectors can be configured after creation.3.2.1 Creating with a preset role template
Entry point: Waker Management → “New Waker” button in the top-right corner.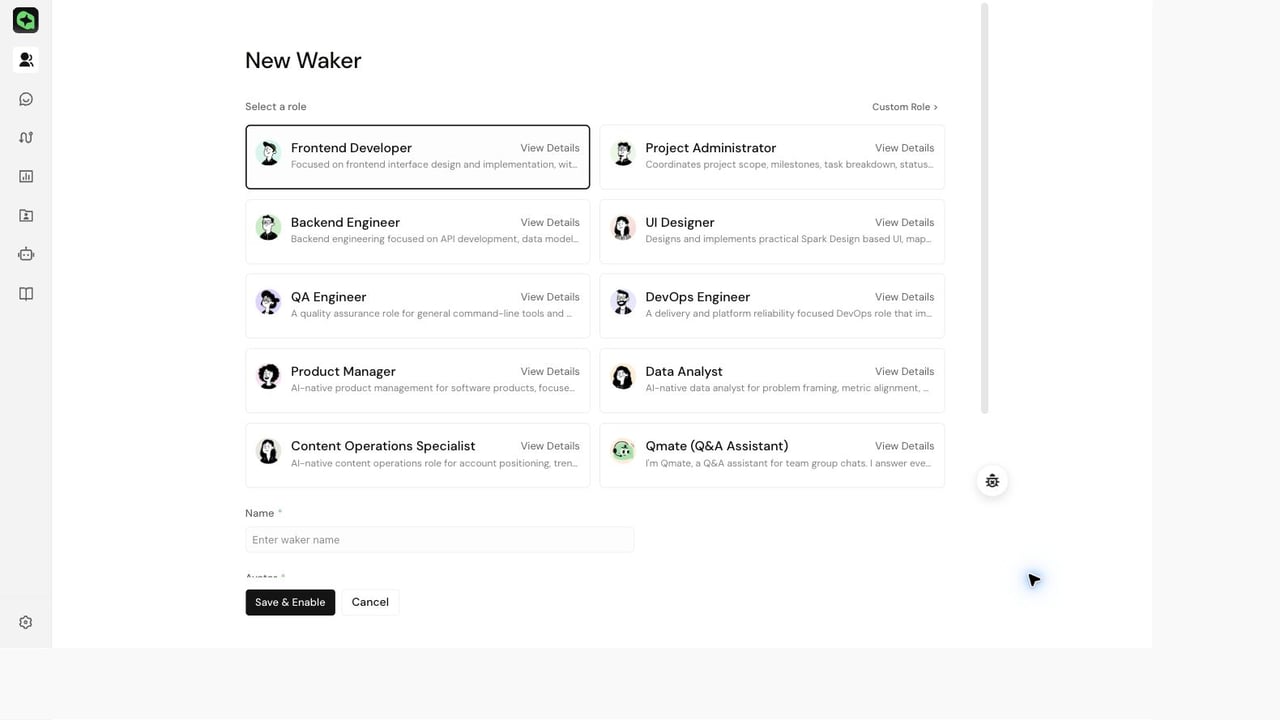
- Select the template closest to the target responsibilities.
- Fill in the name, avatar, and description. The description should clearly state responsibilities, inputs, outputs, and boundaries.
- When the page displays the runtime environment, select a device that has the required projects and dependencies.
- Click “Save and Enable”.
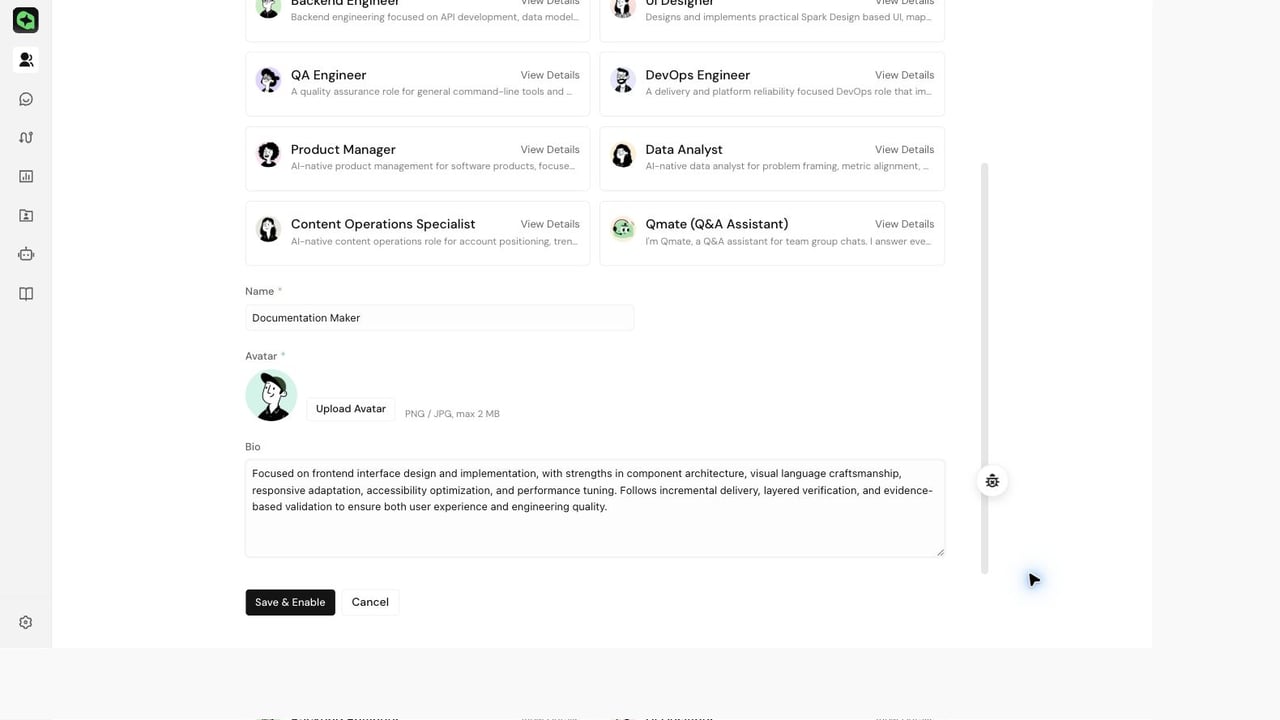
- The new Waker appears in the management list with correct name, description, and runtime environment.
- The configuration menu is visible after entering the detail page.
Templates may include default capabilities. After creation, enter the detail page to review and supplement the configuration.
3.2.2 Creating a custom role template
Use case: Preset roles do not match long-term responsibilities, and you need to save a reusable role configuration. Entry point: “New Waker” dialog → “Custom Role”. Steps:- Fill in the role name, description, and avatar.
- Configure core responsibilities (
IDENTITY.md), work style (PERSONA.md), and work guidelines (BIBLE.md). - Optionally select Skills or MCP services. Credentials should only be configured through the secure authorization entry.
- Save the template, return to the role list, select that template, and then create the Waker.
3.3 Viewing Waker details and selecting configuration items
Entry point: Waker Management → click the target Waker card.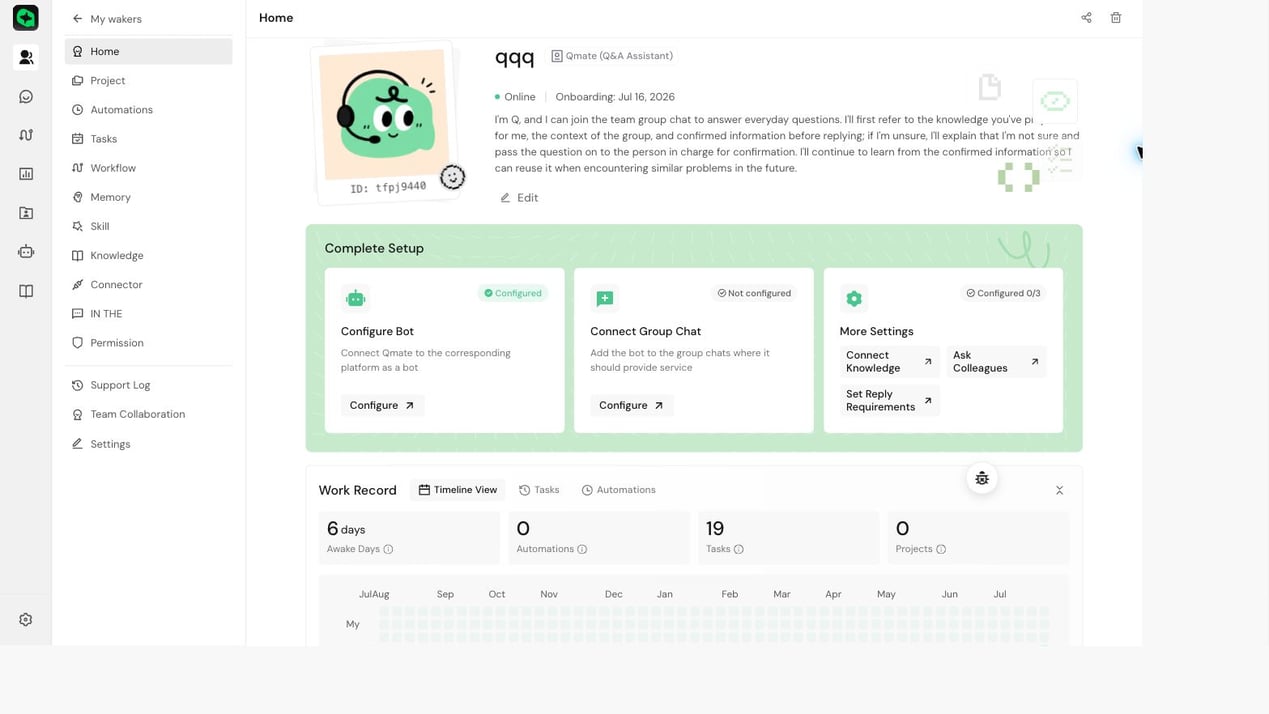
IM channel creation, pairing approval, and global configuration are done in the main navigation under “IM”. IM messages may come from real business groups or external users. Configure the responding Waker, model, work directory, and permissions with minimum scope, and verify in a test session first.
3.4 Viewing status and maintaining basic information
- Go to Waker details → “Home” and verify the name, ID, local/remote indicator, and online status.
- Click “Edit” to modify the name, avatar, or description. The description should clearly state responsibilities, inputs, outputs, and boundaries.
- After saving, return to the home page and management list to confirm the display has been updated.
3.5 Configuring reusable work contexts
Projects are used to save reusable work contexts. “Public projects” can be used by multiple Wakers. Private projects within Waker details are only available to the current Waker.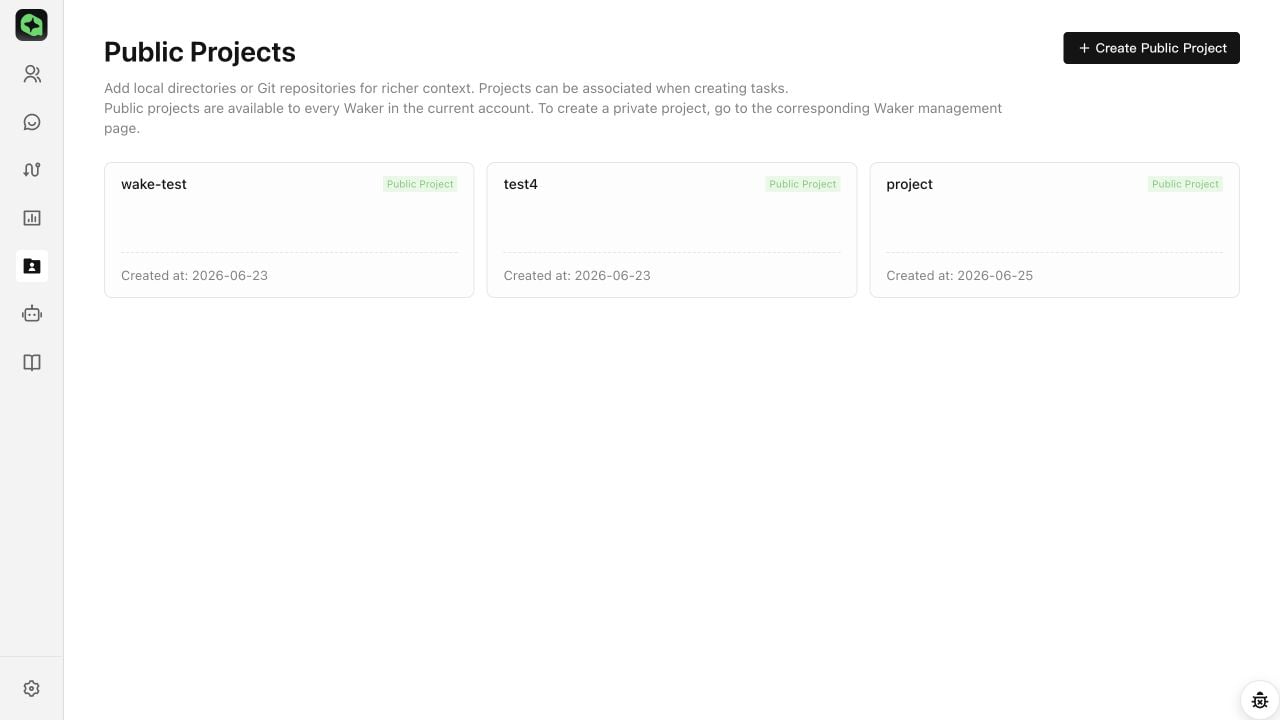
- Choose the public project or private project entry based on the intended scope.
- Fill in the name and description, and add the work path.
- Confirm the device and environment are correct, save, and select the project in the target Waker.
3.6 Configuring permissions
Entry point: Waker details → “Permissions”. The permissions page currently includes:- Tool Guard
- File Guard
- Built-in Tools
- Model Security
- First clarify the Waker’s responsibilities and the operations it must perform.
- In File Guard, only open the directory scope required by tasks.
- In Tool Guard and Built-in Tools, only keep the necessary tools.
- In Model Security, configure the available scope per organizational requirements.
- After saving, run a read-only test task.
- Then run an operation that requires authorization to confirm that high-risk actions are blocked or prompt for user confirmation.