

Creating an Automated Task
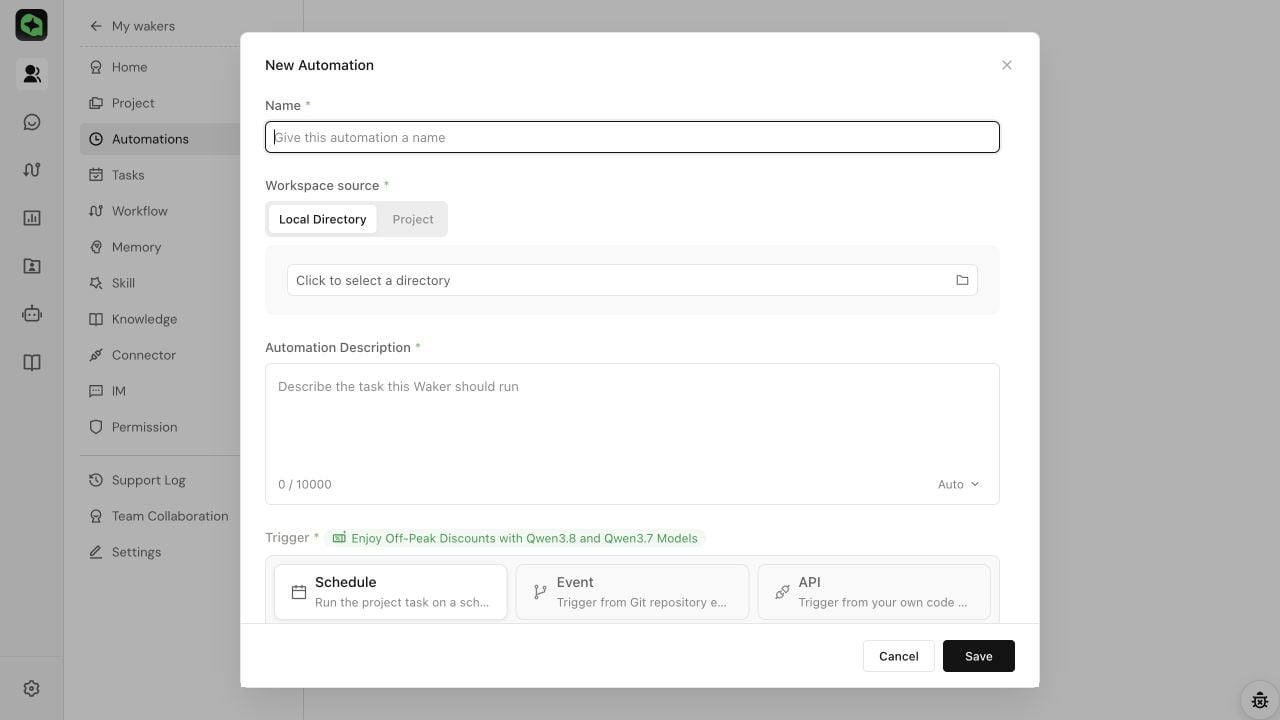
Steps:- From “Waker Management,” open the target Waker and go to “Automated Tasks.”
- Click “New,” fill in the name, and select a local directory or project.
- In the task description, clearly specify the input scope, processing requirements, output format, and prohibited actions.
- Select a model and configure at least one trigger method.
- Optionally set a maximum number of runs or a deadline, then click “Save.”
{{field}}.
Completion criteria:
- The new task appears in the list with the correct name, workspace, model, and trigger method.
- The status is “Enabled” and displays the next run time or API/event information.
Configuring a Scheduled Trigger
Scheduled triggers are suitable for daily reports, weekly reports, routine inspections, and periodic summaries.- Select “Scheduled” and set a one-time or recurring rule.
- Verify the “Next execution” time and system timezone shown on the page.
- Optionally set a maximum number of runs and a deadline, then save the task.
- For the first run, set it to a few minutes from now; after verifying success, change to the production schedule.
Scenario Example: Creating a Daily Group Chat Summary with DWS MCP
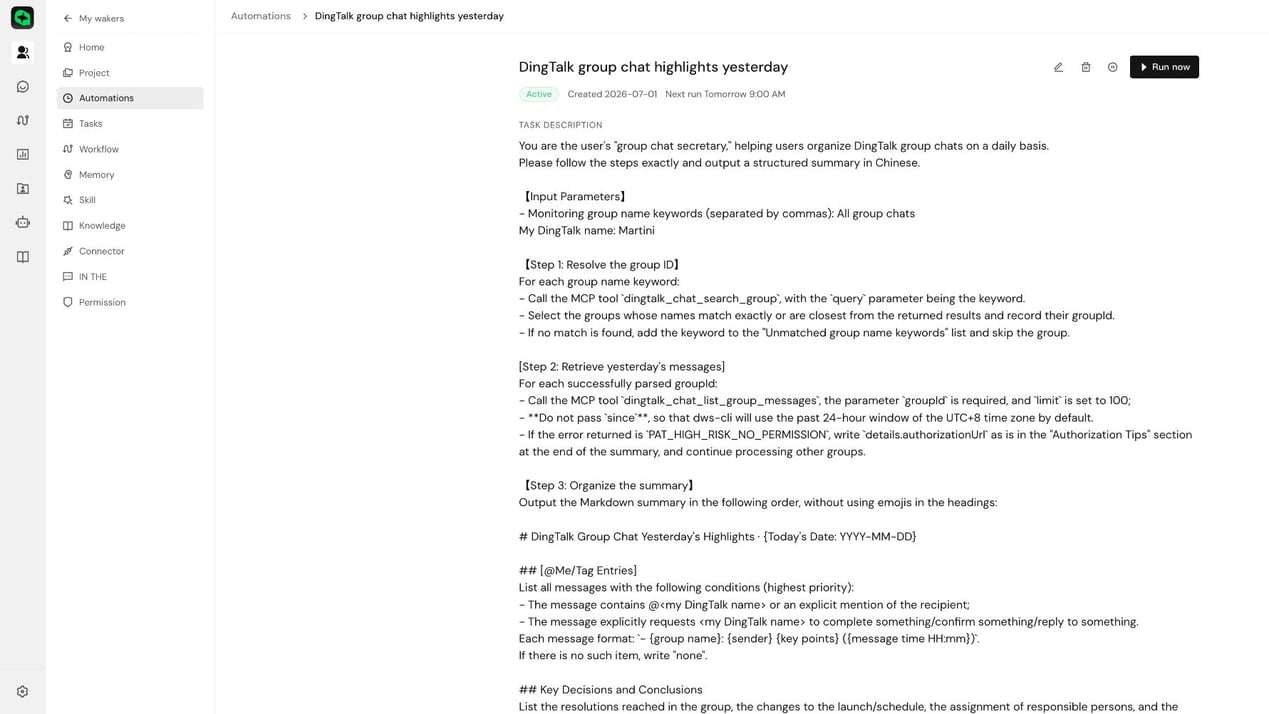
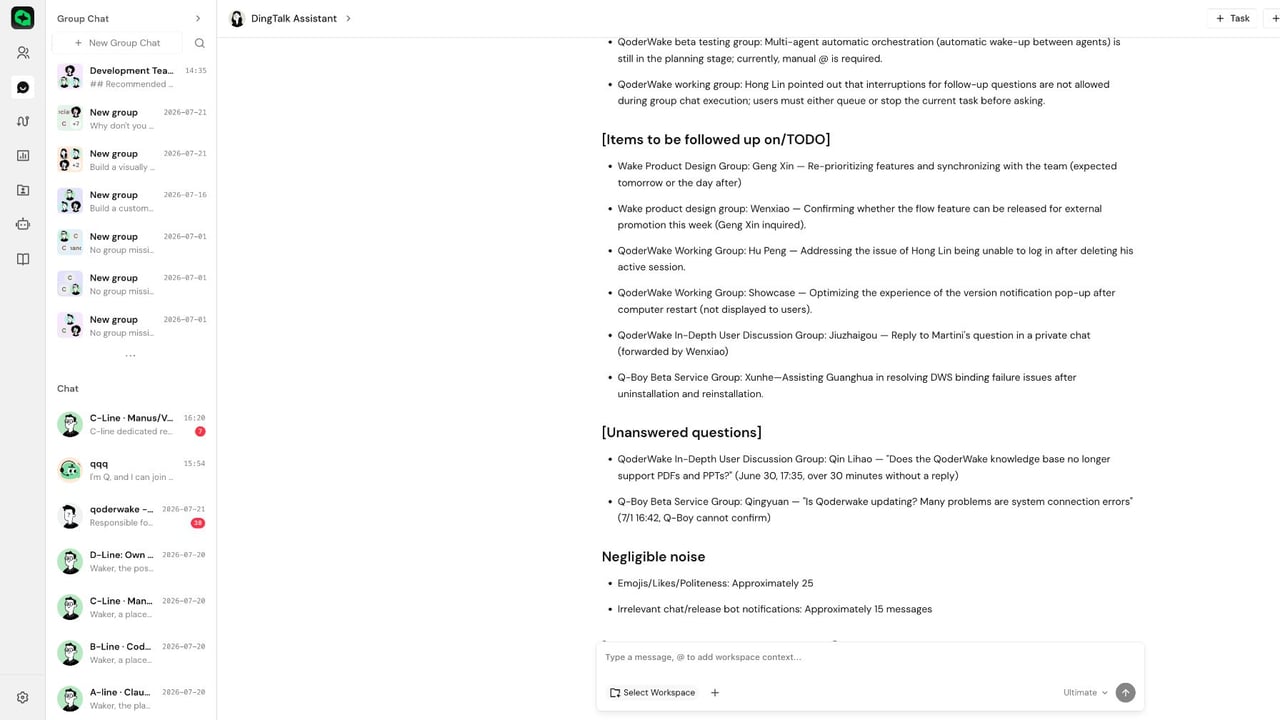
First go to Waker details → “Connectors” → “System” to complete DWS authorization, and verify read and send capabilities in a regular conversation. Use a test group for the first run, and clearly specify the target group, time range, summary format, and send time in the task description.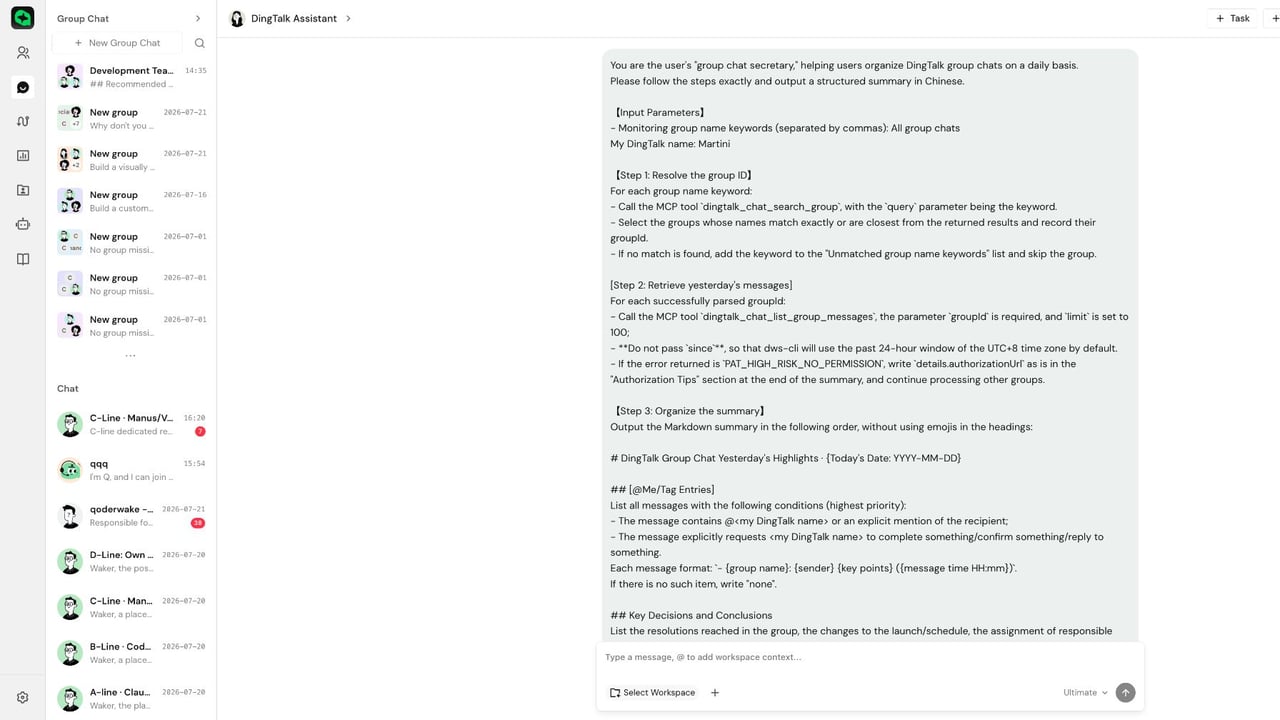
- Open the new task and verify the enabled status, next run time, target group, time range, and recipients.
- Click “Run Now” and check the run history and the summary in the test group.
- After confirming only one correct message was sent, switch to the production group and production schedule.
Configuring an Event Trigger
Event triggers are suitable for GitHub Issues, Pull Requests, comment changes, or other plugin events provided on the current page.- Select “Event” and the event source, then complete authorization as shown on the page.
- Set the target object, change type, and filter criteria such as repository, branch, or tag.
- Save and enable the task; if the page offers “Test Check,” run it once first.
- Create a test event in the external system, then check “Event Activity” and “Run History” for results.
Configuring an API Trigger
API triggers are suitable for ticket platforms, CI/CD, or business systems that actively call the Waker.- Add the “API” trigger method and save the task.
- On the detail page, copy the system-generated POST address, authentication method, and request body — do not construct them manually.
- Send a test request from the calling system.
- Confirm in run history that the source is API, and open the session details to check results.
{{field}}; field names are case-sensitive. To reuse the same business session, pass a wakeSessionUniqueId; it is not an idempotency key, and different customers or projects must not share the same value.
Completion criteria: A new record with source “API” appears in run history, the session receives correct input, and the final output matches the task description. A successful API request does not mean the business logic has finished executing — you still need to check run history and session details.
Managing Tasks and Viewing Run Results
In the task card’s “More” menu, you can pause, resume, edit, copy, delete, or immediately run a task. Before deleting, confirm you no longer need the history; paused tasks typically need to be resumed before they can be run immediately. After entering task details, focus on:
Completion criteria: The run status is successful, the workspace and input are correct, the output or external action matches the task description, and test content has not entered production directories or real external targets.
Automated Task Failure Troubleshooting
When troubleshooting, first use “Run Now” to isolate trigger issues: if manual execution succeeds but automatic triggering fails, focus on the trigger configuration; if manual execution also fails, focus on the task description, workspace, model, capabilities, and permissions.