Applicable plans: Teams / Enterprise
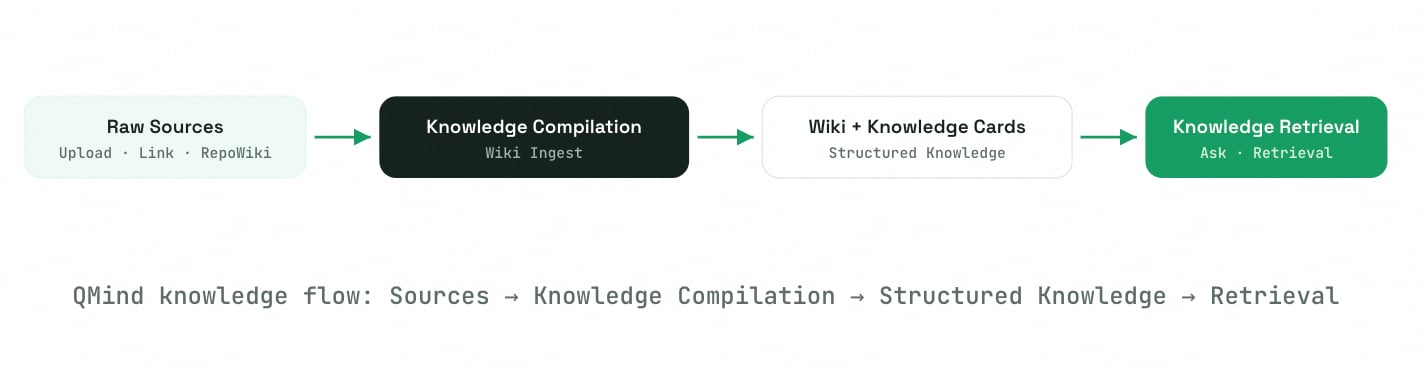
Core Concepts
Creating a Notebook
Navigate to QMind from the left sidebar. The homepage shows “Selected Showcase Notebooks” at the top, with “Created” and “Shared” tabs below listing existing notebooks with file counts and update times. Click “Create Notebook” to create a new empty notebook.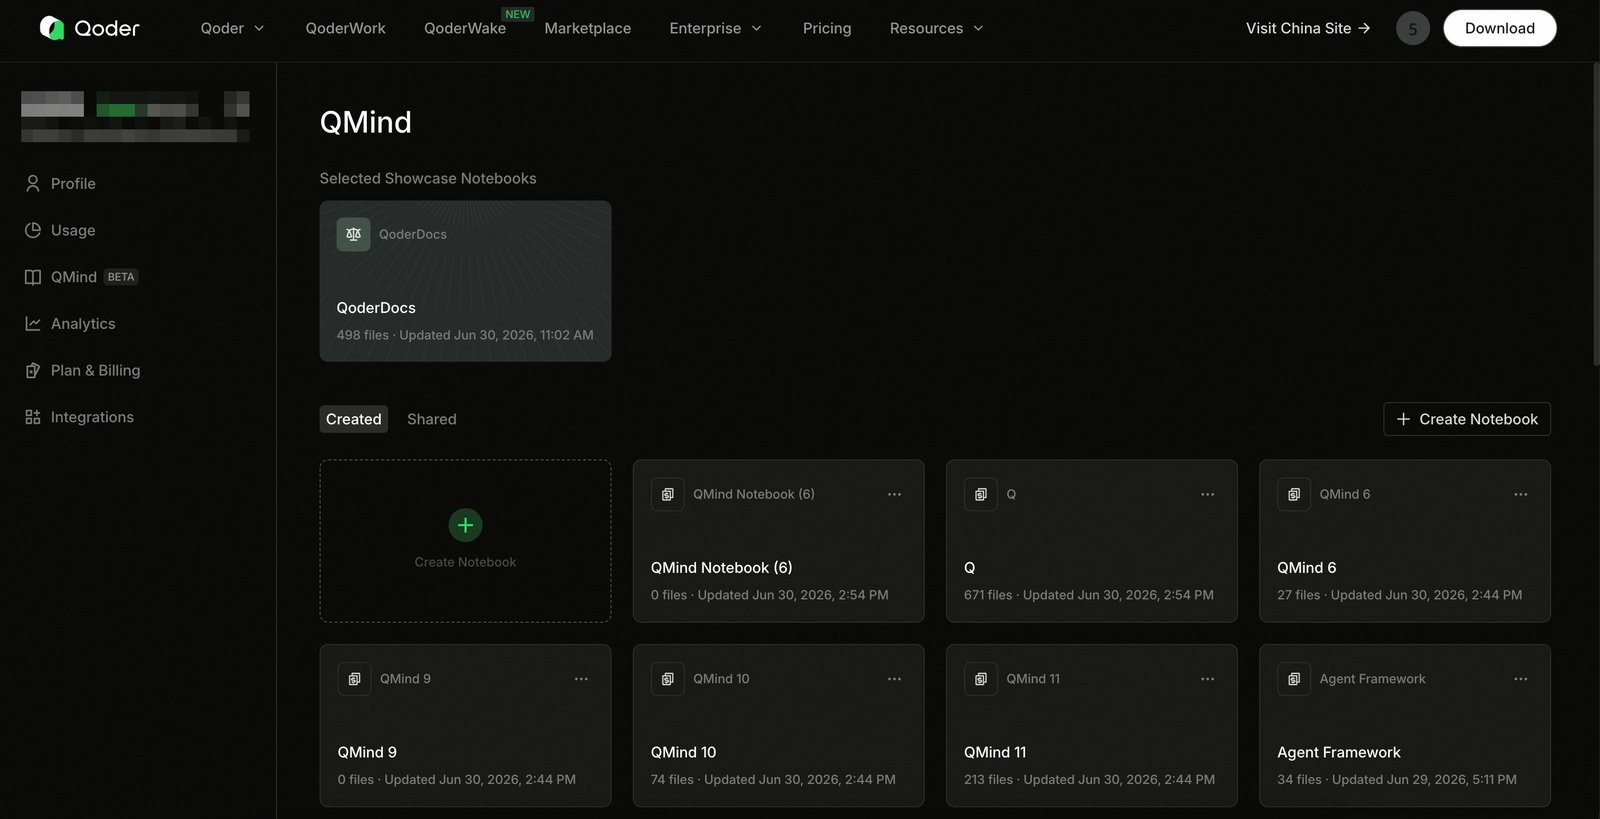
Adding Materials & Data Sources
After entering a notebook, click “Add File” to open the “Add materials to knowledge base” dialog. Imported materials are stored in the “Raw Sources” layer first and can be compiled at any time. QMind supports three types of data sources:Upload File
Supports PDF, Word (.doc/.docx), Excel (.xls/.xlsx), PowerPoint (.ppt/.pptx), Markdown, TXT, CSV, HTML, and images (.png/.jpg/.jpeg/.gif/.webp/.bmp/.svg). Maximum file size is 500 MB. You can also drag and drop files into the dialog.Page Link
Paste a web page URL to include its content in the knowledge base.RepoWiki (Import Repository Wiki)
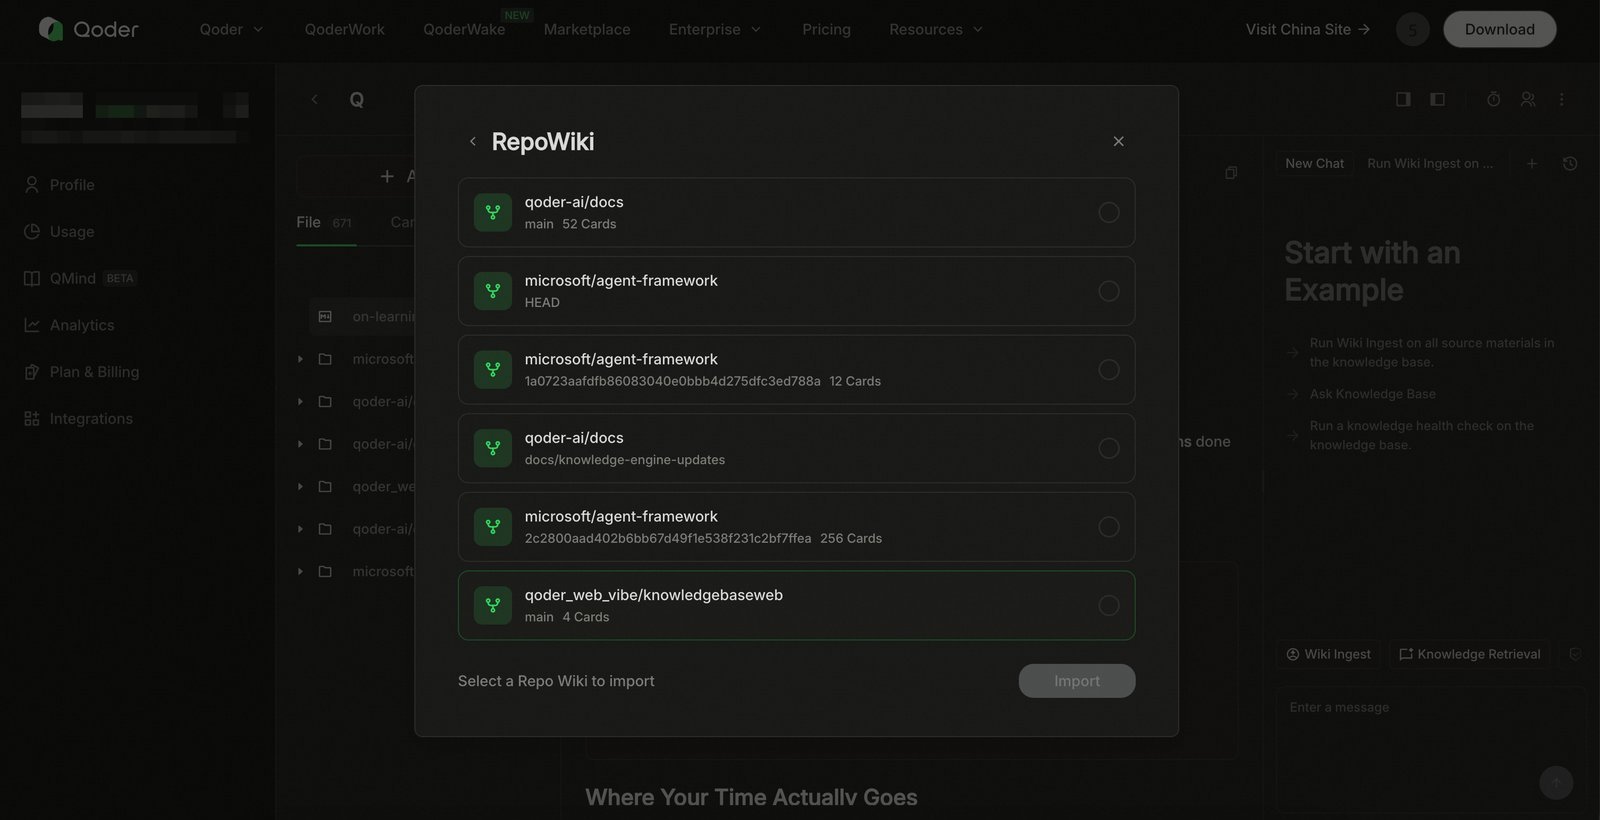
Import an existing RepoWiki as a data source. The dialog lists available RepoWikis showing repository name, branch or commit, and card count; select and click “Import” to add to the current notebook.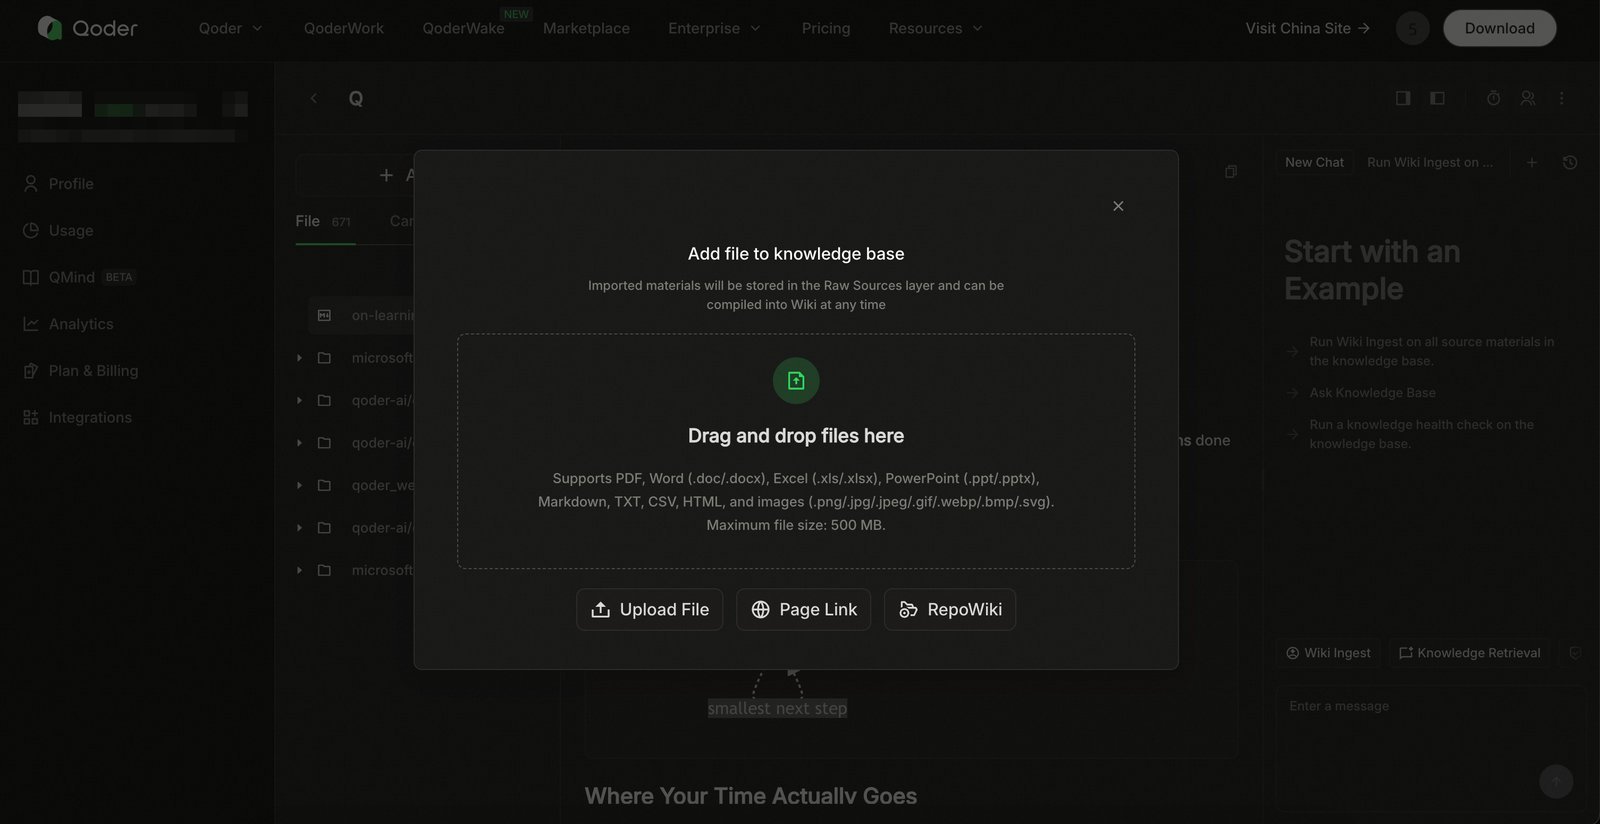
Compiling Knowledge
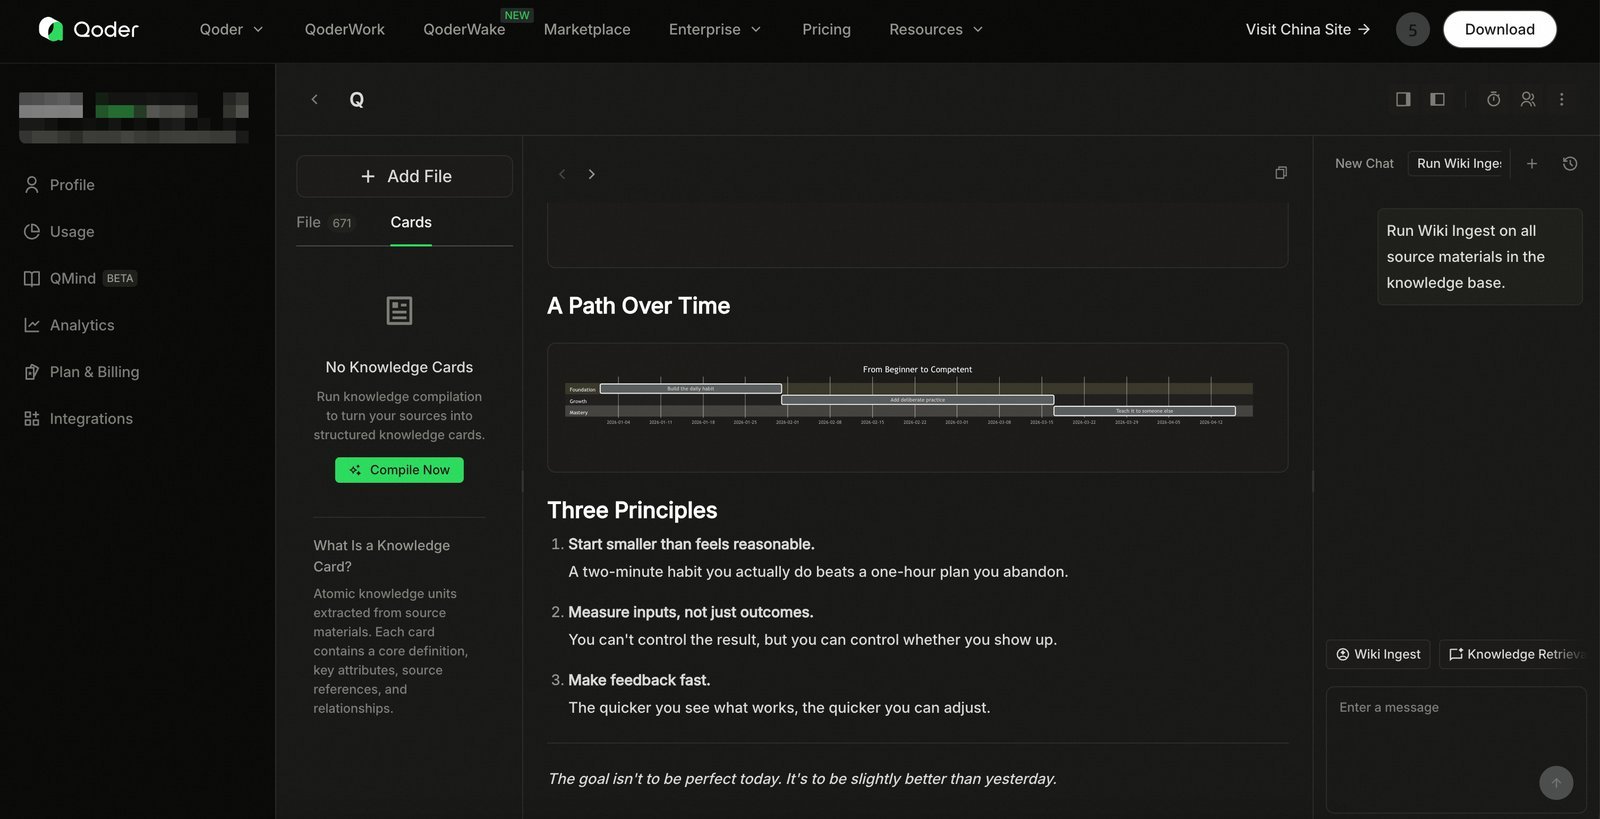
After import, materials remain in raw state and require Knowledge Compilation to generate structured Wiki and Cards:- Switch to the “Cards” tab; if no cards exist, you’ll see an empty state with a “Compile Now” button
- You can also use “Wiki Ingest” in the right panel to compile all raw materials
- After compilation starts, a notification appears at the top; once complete, view generated Knowledge Cards in the “Cards” tab
Browsing Knowledge & Visualization
The notebook’s left panel organizes content with “File” and “Cards” tabs; the center area displays knowledge details, rendering body text, charts (pie charts, Gantt charts), and relationship graphs. Use the forward/back buttons at the top to navigate between entries.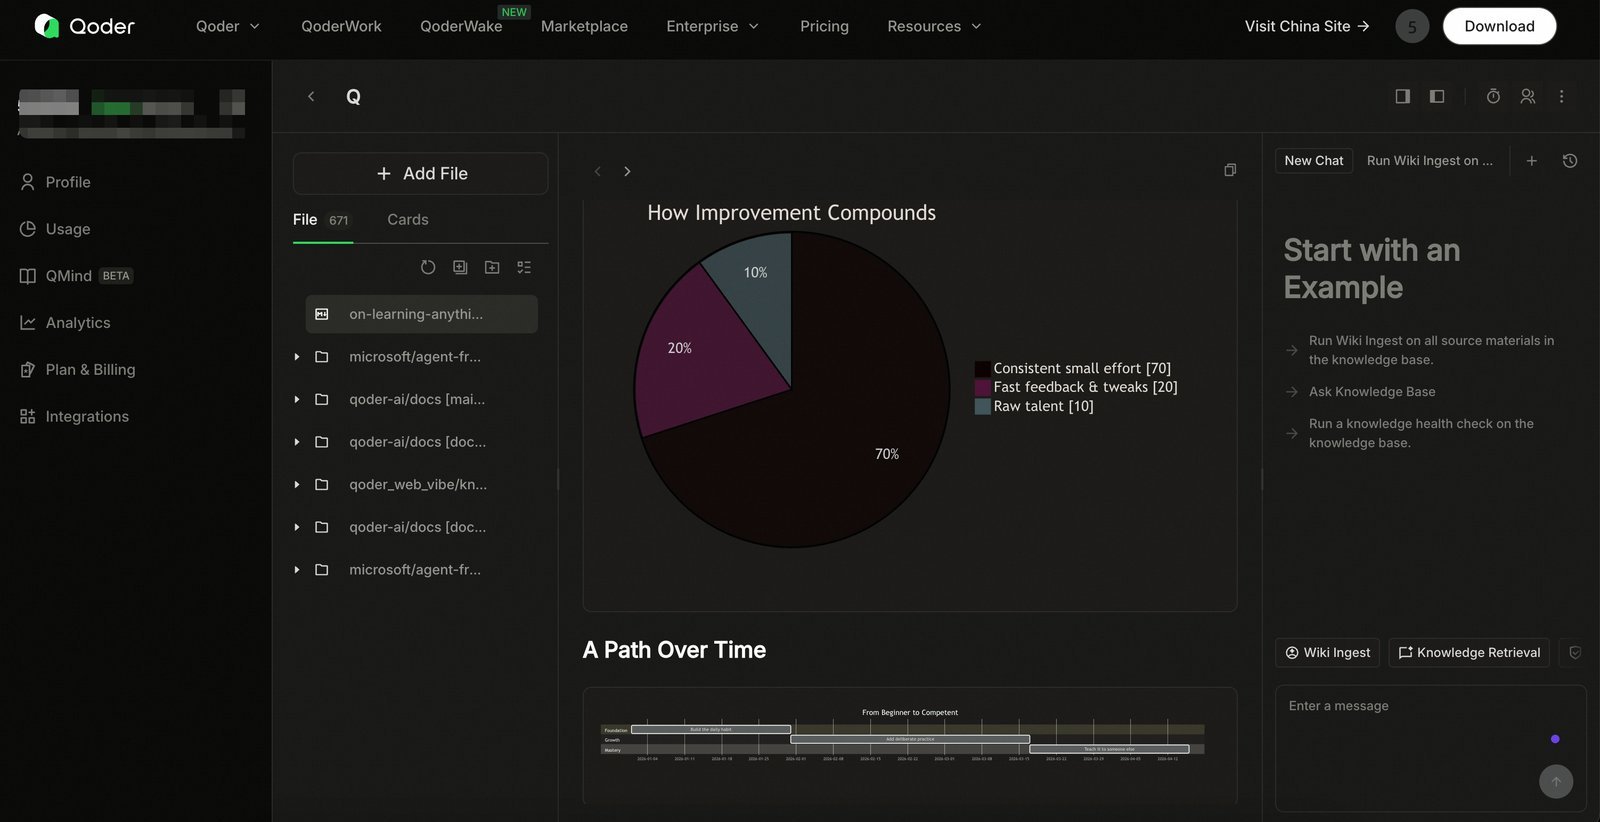
Asking Questions & Knowledge Retrieval
The right panel is for Knowledge Retrieval. After creating a new session, “Start with an Example” provides common starting examples:
The panel bottom provides “Wiki Ingest” and “Knowledge Retrieval” quick entries, or you can type questions directly in the input box.
Consuming via Marketplace Skills
Beyond in-product chat retrieval, QMind knowledge can also be consumed through Skills from the Marketplace on the Qoder website. Search “QMind” in the Marketplace to get the corresponding Skill. Use it to invoke knowledge already deposited in your QMind knowledge base, integrating retrieval capabilities into your actual development and collaboration workflows. Marketplace URL: QMindSharing & Collaboration
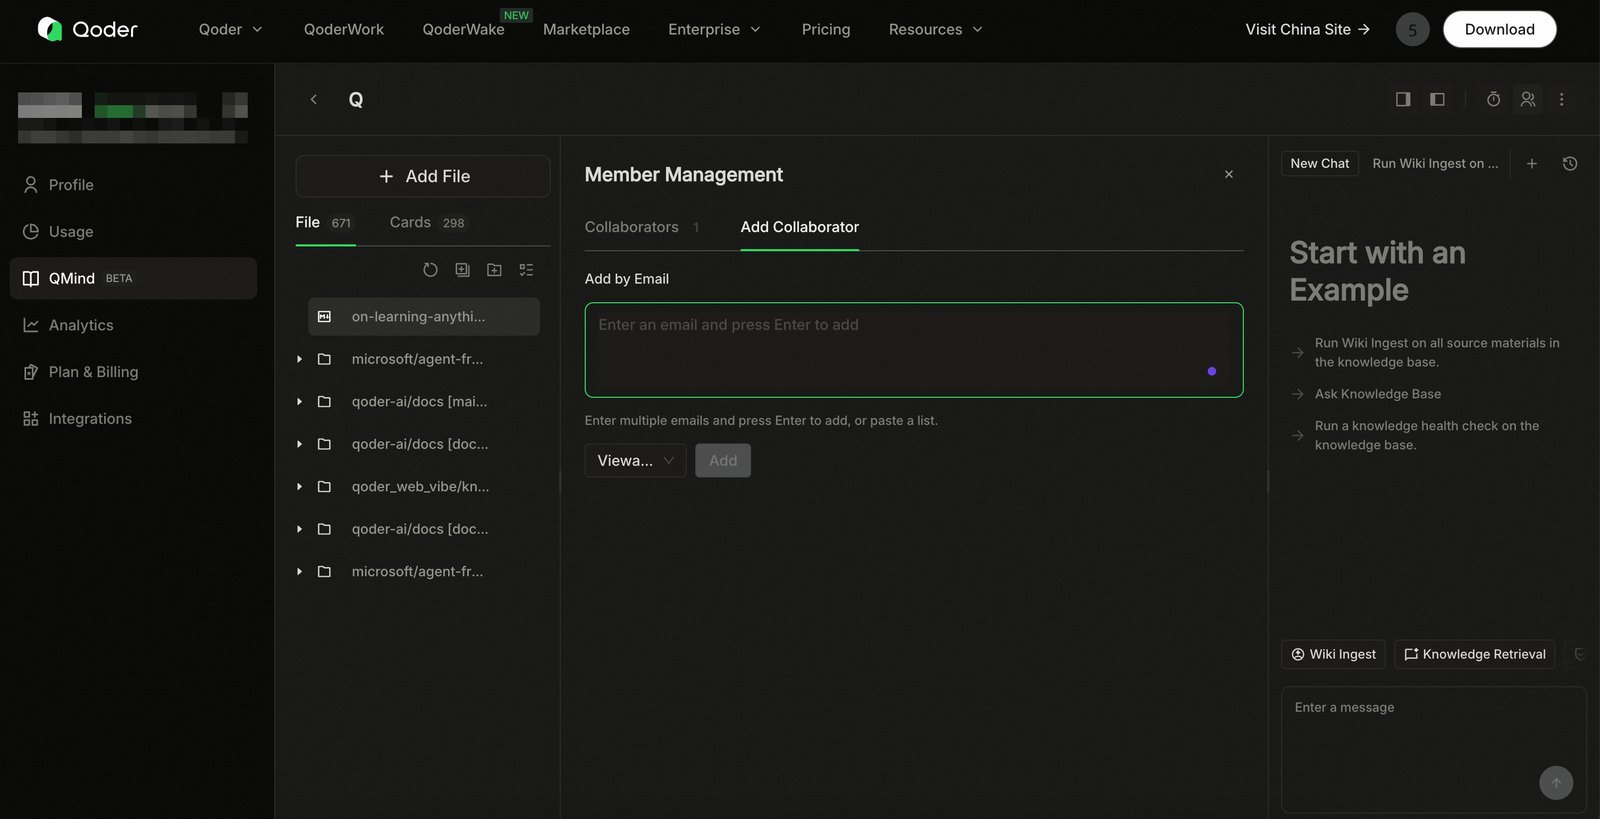
Notebooks can be shared with organization members for collaboration:- Go to “Member Management” → “Add Collaborator”
- Add by email: enter one or more email addresses (press Enter to confirm, or paste an email list)
- Select a role for the recipient (e.g., “Viewer”)
- Click “Add”
Scheduled Tasks
QMind supports configuring scheduled tasks for knowledge bases to keep knowledge automatically updated. In “Create Scheduled Task,” select a task type: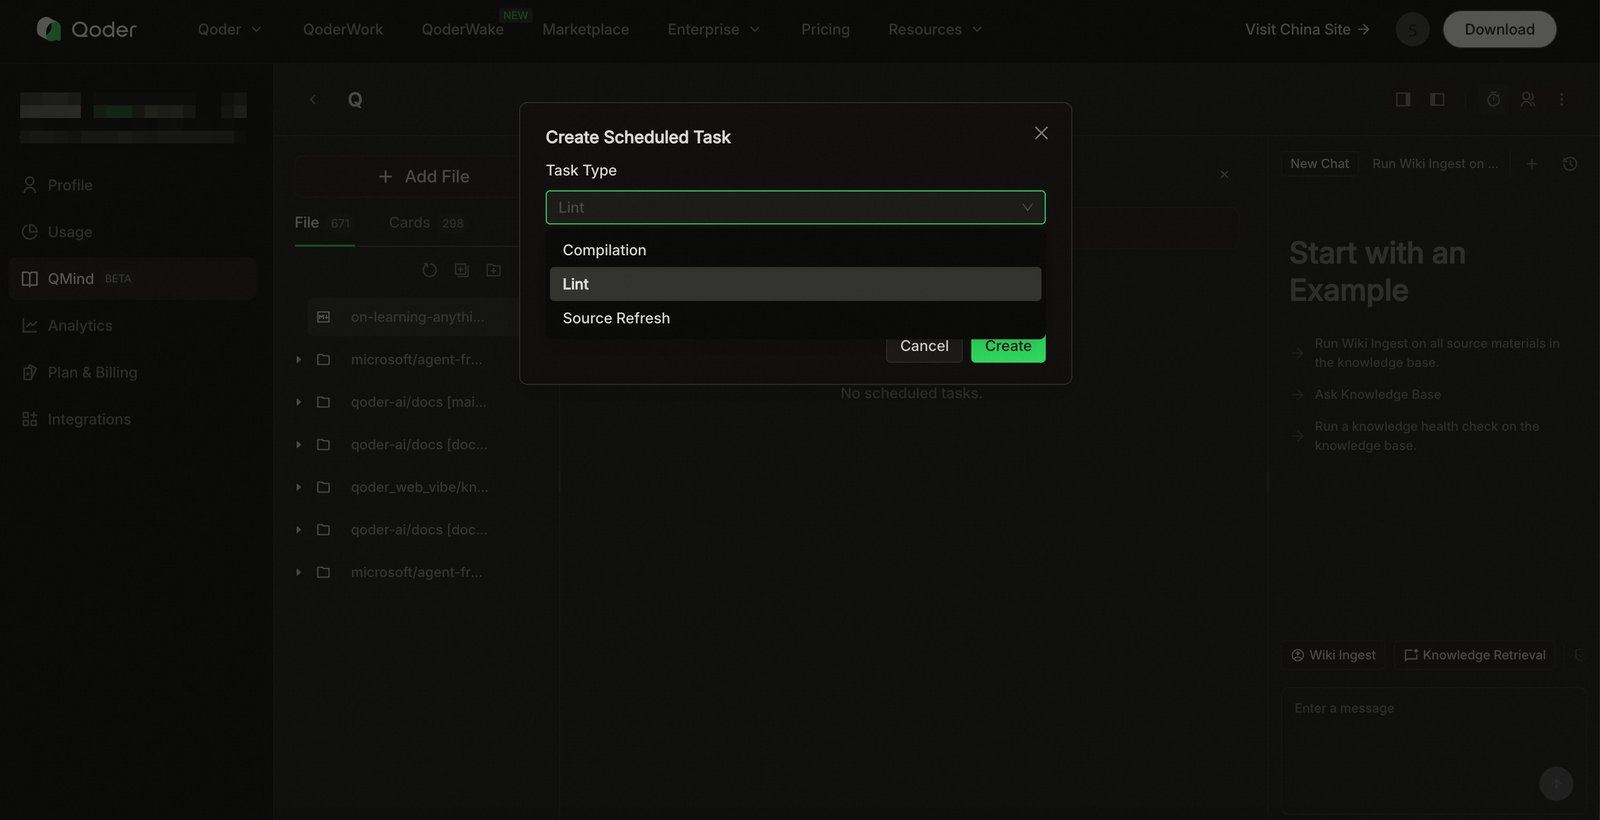
Custom Prompts
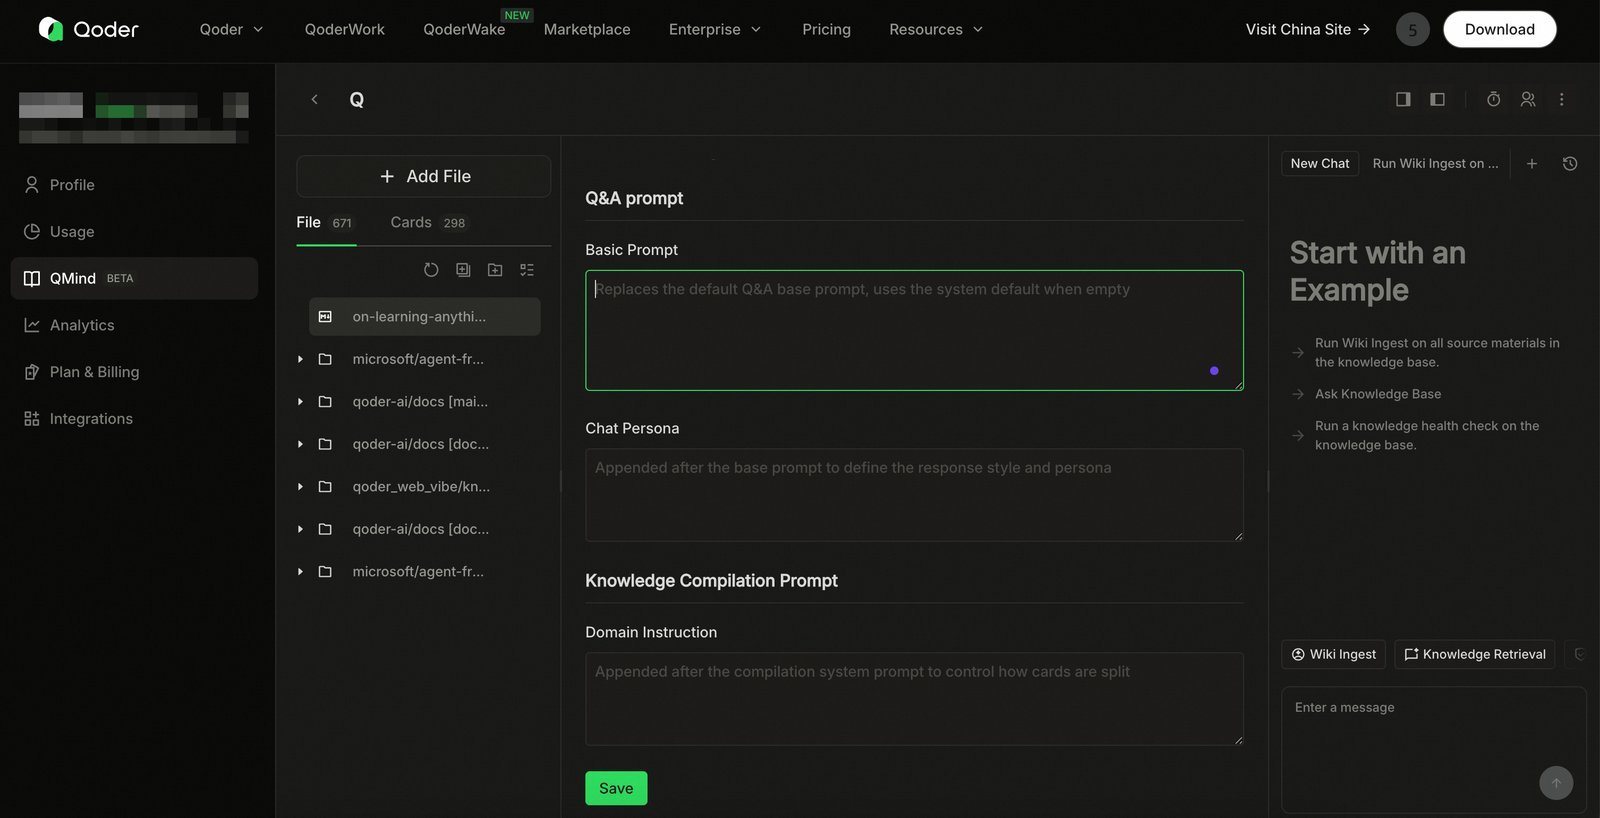
Both compilation and retrieval support custom Prompts to match your domain and answer style; leave empty to use system defaults. Click “Save” after configuration.Q&A Prompt (for retrieval)
- Basic Prompt: Replaces the default Q&A base prompt
- Chat Persona: Appended after the basic prompt to define answer style and persona
Knowledge Compilation Prompt (for compilation)
- Domain Instruction: Appended after the compilation system prompt to control how Knowledge Cards are split